Brick edges chip when the tool strikes, twists or overheats the masonry instead of removing it in a controlled line. By the end, you will know how the blade, saw format, brick condition, workholding and water management combine to produce a precise opening with less breakout.
Key takeaways
- Use a continuous, steady feed instead of forcing the diamond blade.
- Match blade type and diameter to brick hardness, finish and cutting depth.
- Mark both faces and support loose masonry before starting the cut.
- Control slurry, silica dust and nearby structural loads during cutting.
How diamond abrasion keeps the cut line intact
A diamond saw cuts brick more cleanly because it grinds the masonry instead of striking it. In diamond saw brick cutting, diamond segments carry exposed abrasive particles that remove tiny amounts of brick while the bond wears to reveal fresh particles.
This abrasion cutting avoids the tooth strike and hammering that start cracks beyond the intended kerf, giving better breakout reduction and a straighter edge.
| Tool | Cutting action | Result at the brick edge |
|---|---|---|
| Diamond saw | Continuous grinding by diamond segments | Controlled kerf, low spalling and accurate dimensions |
| Toothed carbide blade | Teeth chip and tear masonry | Faster bites in some materials, but a rougher edge and more breakout |
| Impact tool | Repeated hammer blows fracture masonry | Irregular opening, high vibration and damage beyond the marked line |
A continuous-rim blade usually gives the cleanest visible edge because its uninterrupted rim avoids the repeated impact created by segment gaps. A segmented blade clears debris and cuts faster but leaves a rougher finish; a turbo rim sits between those outcomes.
Do not force the feed: a binding blade still transfers vibration into the wall and can crack unsupported or weathered brick. Score the visible face first and support the exit side, where breakout is most likely.
Choose the blade for the brick, finish and depth
Edge quality, cutting speed and finished dimensions depend on the brick’s abrasiveness, density, aggregate and whether it is solid or hollow. A fired clay brick may be soft and abrasive, consuming a poorly matched bond quickly; a fly-ash brick can cut differently because its density and aggregate vary.
Choose the bond to retain diamonds in abrasive material without glazing on denser units.
Blade rim design sets the finish-versus-speed trade-off:
| Blade type | Edge finish | Cutting speed and use |
|---|---|---|
| Continuous rim | Cleanest, least breakout | Slower; use where both faces remain visible |
| Turbo rim | Cleaner than segmented, faster than continuous | General-purpose balance |
| Segmented rim | Rougher edge with more breakout risk | Fastest debris clearance for concealed or heavily used cuts |
A continuous rim is not automatically the right choice. If its bond is too soft for abrasive masonry, it wears rapidly; if too hard for dense brick, it can glaze and stop cutting efficiently.
Set the blade and guide for the finished dimension, not the marked opening alone. The kerf removes material, and the final size also depends on blade thickness, guide position and any edge dressing. Leave a sacrificial allowance, then trim to the line rather than cutting directly on it.
Support a solid brick on both sides. Restrain a hollow brick, thin slip or weathered unit especially carefully: a hanging off-cut can open the kerf and break the exit face. Score the visible face first, then complete the cut with controlled feed.
Wet slurry must be contained and removed before it dries and stains porous brick or becomes airborne during cleanup.
Set up the work so the blade follows the intended line
Mark the finished opening, then offset the guide for the blade’s kerf width and any final edge dressing. If you set the guide directly on the finished line, the blade removes material inside that dimension and leaves an oversize opening.
- Clamp a rigid guide rail to the sound face, not to loose mortar or a projecting brick. Check that the rail is straight and that blade squareness keeps the cut at 90 degrees to the surface.
- Support the brick on both sides of the cut and restrain the off-cut. A hanging section can drop, open the kerf and tear the exit face, especially in hollow brick, thin slips or cuts near an unsupported edge.
- Confirm the arbor, flanges and blade are secure before cutting. Excessive runout or a bent arbor makes the blade wander even with a correctly positioned guide.
- Make a scoring pass along the visible mark, then deepen the cut with a steady feed. Do not force the blade through in one aggressive pass; side pressure bends the blade and increases breakout at corners.
Cut from the face that matters most, and treat the opposite face as the exit. For a through-opening, stop before the final breakthrough if possible, support the piece, and finish the last section with controlled pressure. Water improves cooling and visibility, but it cannot correct a crooked guide or unsupported masonry.
Check for ties, reinforcement, services and lintel components before cutting.
Match the saw format and cutting method to the job
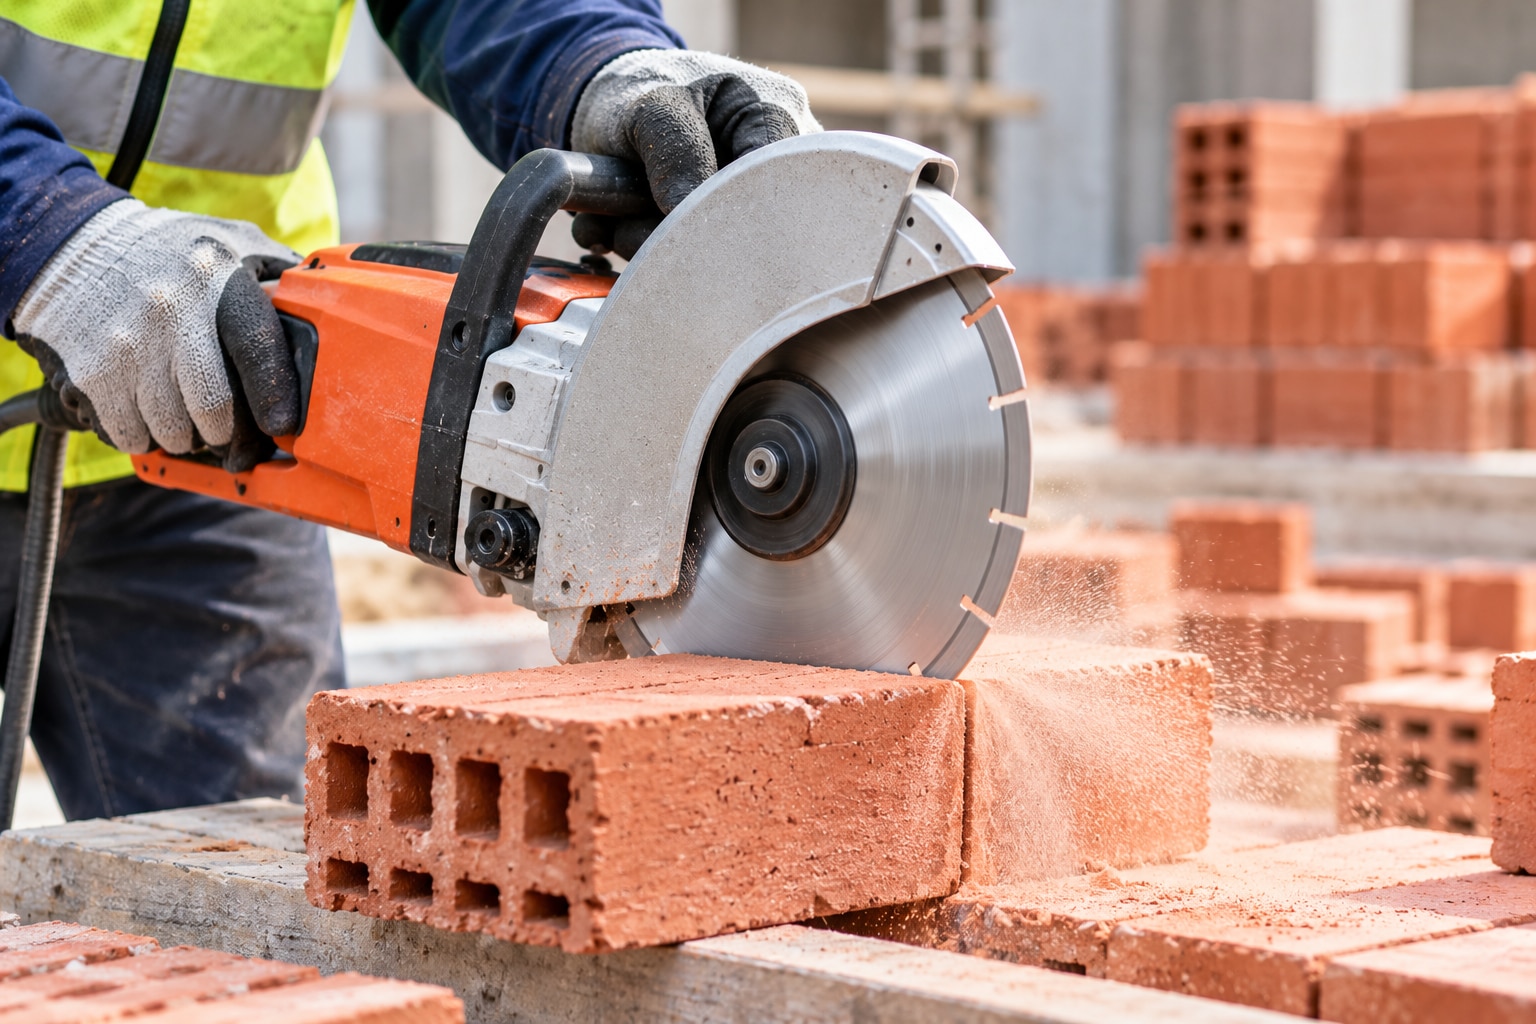
Choose the saw by access, cut length and required straightness. A handheld brick saw suits short, accessible cuts, trimming individual bricks and work where a fixed guide cannot fit. Keep the brick supported on both sides; a hanging off-cut can pull the kerf open and break the exit face.
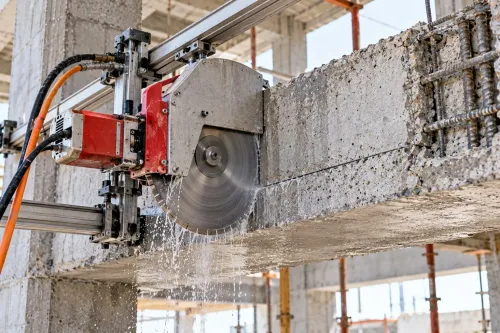
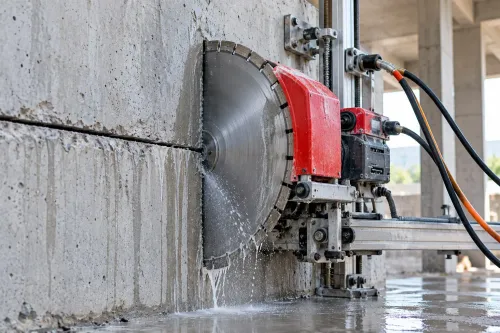
A wall saw is the right choice for long, straight openings in a standing wall. Its guide keeps the blade aligned and controls depth, reducing the oversize opening that a freehand tool can create.
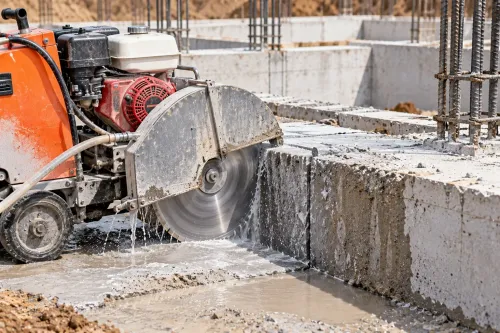
Use a floor saw for horizontal slabs, paving and long ground-level cuts; its wheels and fixed blade path improve consistency over distance.
| Tool | Best use | Main limitation |
|---|---|---|
| Handheld brick saw | Short cuts and local trimming | More operator-dependent; alignment drifts on long cuts |
| Wall saw | Straight wall openings and controlled depth | Needs firm track fixing and clear access |
| Floor saw | Horizontal slabs, paving and floor joints | Unsuitable for vertical or elevated work |
| Angle grinder | Small notches and surface trimming | The angle grinder comparison is poor for long cuts: high dust, no depth guide and greater breakout risk |
| Reciprocating saw | Soft joints, thin sections or demolition | Toothed blades wander and leave a ragged edge |
| Chisel or hammer drill | Removing remaining pieces after sawing | Impact can loosen adjacent bricks and enlarge the opening |
Salasar Demolitions Pvt Ltd can help select the format when wall access, cut depth and surrounding masonry make a handheld choice unsafe or inaccurate. A saw does not compensate for movement, poor support or a bent guide.
Related products
 | Wall Sawing, Concrete Sawing, PQC Road Cutting ₹10000 We offer complete, carefully thought-out, easy-to-use wall sawing systems. View product → |
 | Road Cutting With Floor Sawing A concrete saw (often known as a consaw or road saw) is a power tool used for cutting concrete, masonry, brick, asphalt, tile, and other solid... View product → |
Control water, dust and structural risk during cutting
Choose wet cutting when edge quality and heat control matter more than keeping the work area dry. Water cools the diamond rim and suppresses airborne silica dust, but it creates slurry that can stain porous brick, clog drains and hide the cut line.
Dry cutting is suitable only when the saw, shroud, airflow and filter are designed for masonry dust. A general-purpose vacuum is not enough: follow the applicable OSHA Table 1 method, or use a documented alternative exposure-control method with exposure assessment. Stop if the shroud leaks or the dust plume escapes.
| Method | Edge and structural effect | Dust and water control | Use it when |
|---|---|---|---|
| Wet cutting | Cooler blade and steady abrasion; protect the edge from breakout by supporting both sides | Contain slurry, protect drains and remove residue before it dries; dried silica-bearing slurry can become airborne | Water can be collected without staining or damaging the surrounding area |
| Dry cutting | No slurry hides the line, but heat and vibration demand controlled passes | Use a matched shroud, airflow and dust-class filter for silica dust control | Water would damage finishes, enter services or create an unmanageable runoff problem |
Support the brick on both sides and restrain the off-cut before cutting. A hanging piece can open the kerf and break the exit face, especially in hollow brick, thin slips or cuts near an unsupported edge. Do not cut a load-bearing wall until an engineer confirms the sequence and temporary support.
Frequently asked questions
How does diamond abrasion keep a brick cut line intact?
Exposed diamond particles grind away small amounts of brick while the bond wears to reveal fresh abrasive particles, reducing impact and breakout.
How do you choose a diamond blade for brick cutting?
Match the blade to the brick hardness, required finish and cutting depth, then confirm its diameter and segment design suit the saw.
How can you set up a saw to follow the intended cut line?
Mark the line clearly, check both faces where the cut passes through, secure the work and guide the saw with a stable, controlled feed.
How do you control water, dust and structural risk during brick cutting?
Use wet cutting when suitable, collect slurry, control respirable silica dust and assess nearby loads, services and masonry stability before cutting.